How to install WordPress
Step by step guide on how to install WordPress

I am a full-stack web developer and a student of computer science in Maribor. I am passionate about web development and I love to learn new things. Likewise, I am also writing a blog, where I share my knowledge and experience. And love Scandinavian culture called Hygge, and I am trying to live by it.
WordPress is the most popular CMS system in the world (about 40% of pages using WordPress).
I have been using WordPress for half a year for various purposes. And I want to introduce others to how to create a website.
Prerequisites:
- Web hosting with MySQL database and [PHP version 7.4] (https://www.php.net/),
- Web hosting provider and
- Active domain, with a DNS server-oriented to your hosting provider.
Step 1 - Download WordPress
Download the latest version of WordPress on the WordPress website.
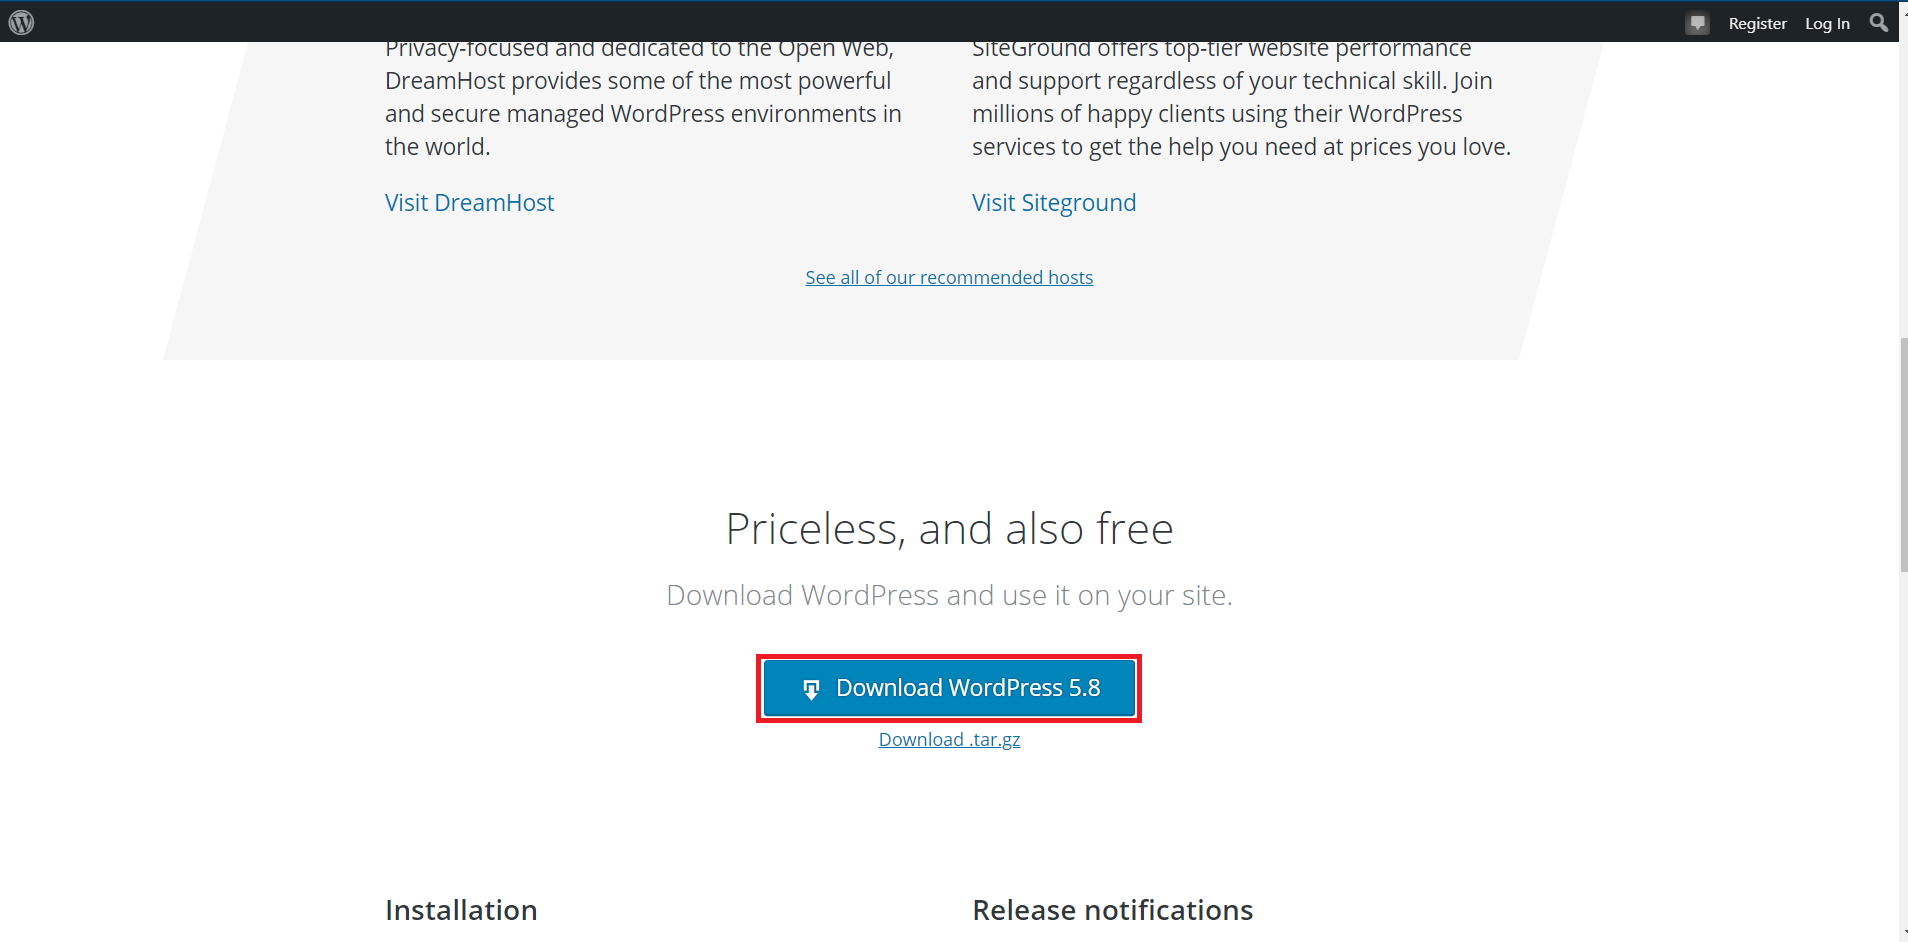
During the transfer, you can go cook one cup of☕ or 🍵 to make the next steps easier.
Step 2 - Create a database
Because most web hosting providers offer a control panel [cPanel] (https://cpanel.net/), I will also show you how to install WordPress with the control panel [cPanel] (https://cpanel.net/).
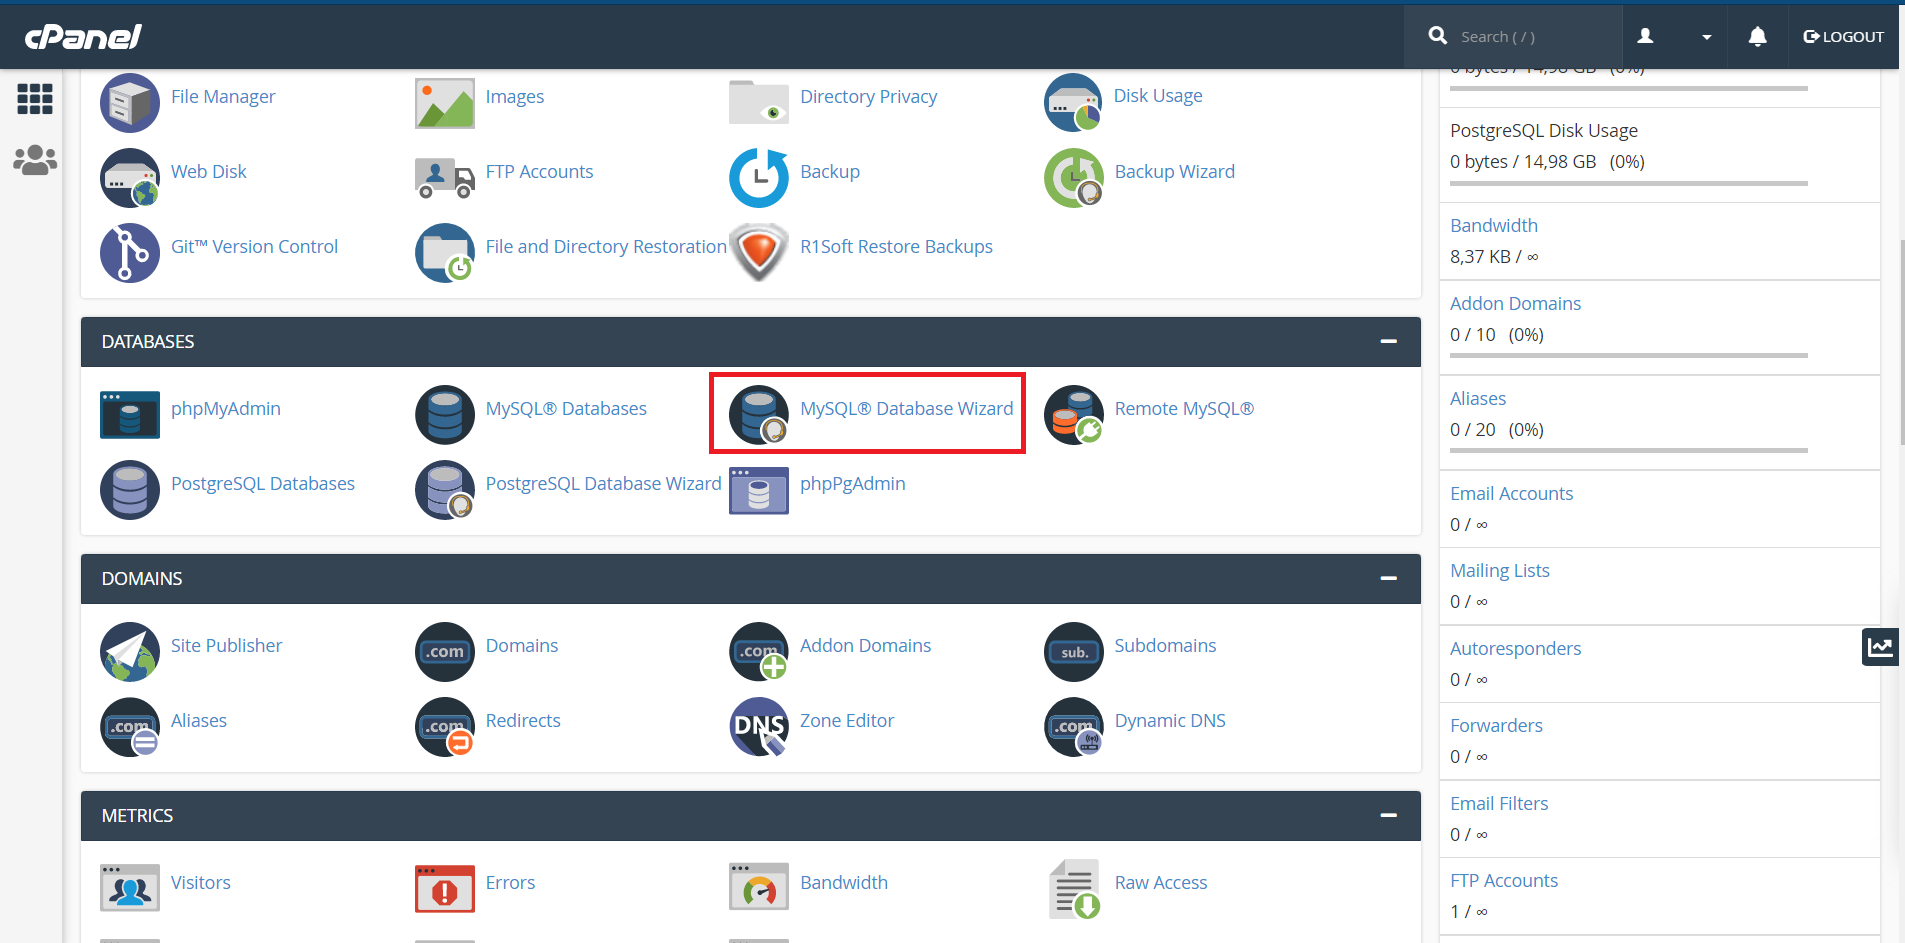
We must first create a database, which will store information about the website.
- To do this, look for the
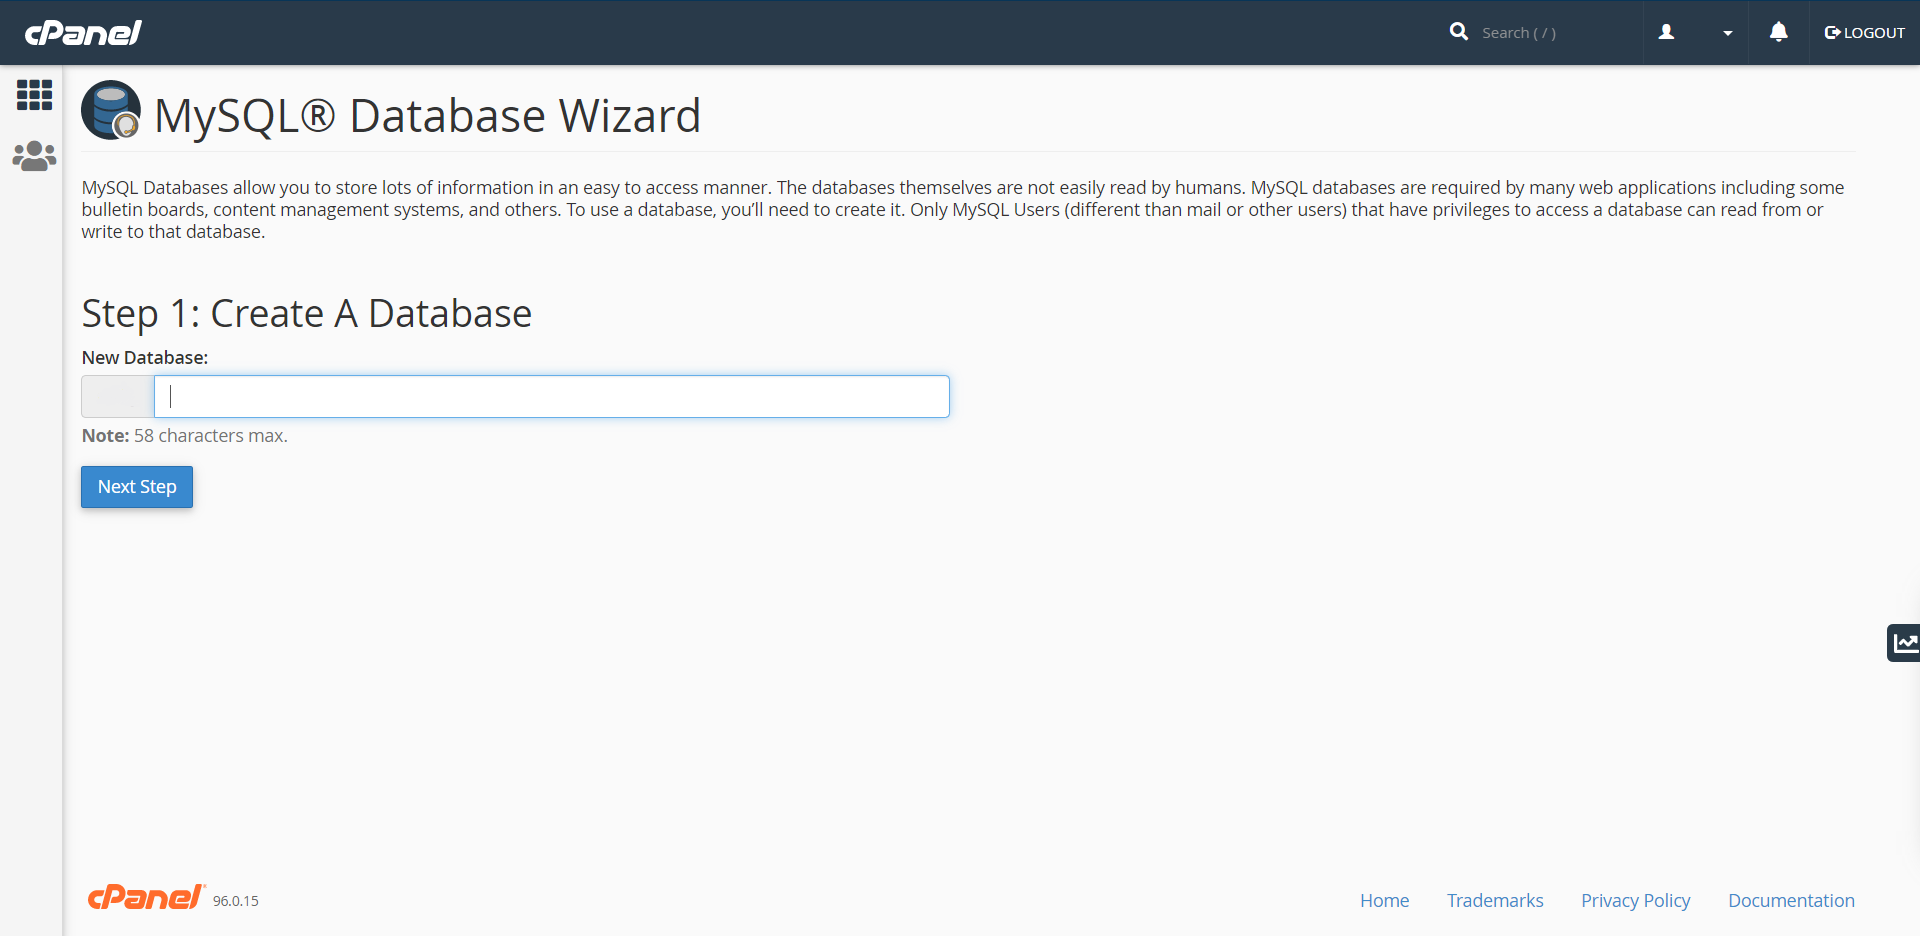
MySQL Database Wizardbutton in the control panel. The wizard will allow us to create a database and a user.
- Continue by entering the name of the database. , the easiest database name is "wp".
In most cases, the database has a prefix (our cPanel login username), so the full database name will be prefix_ + database_name. The same goes for the database user in the next step.
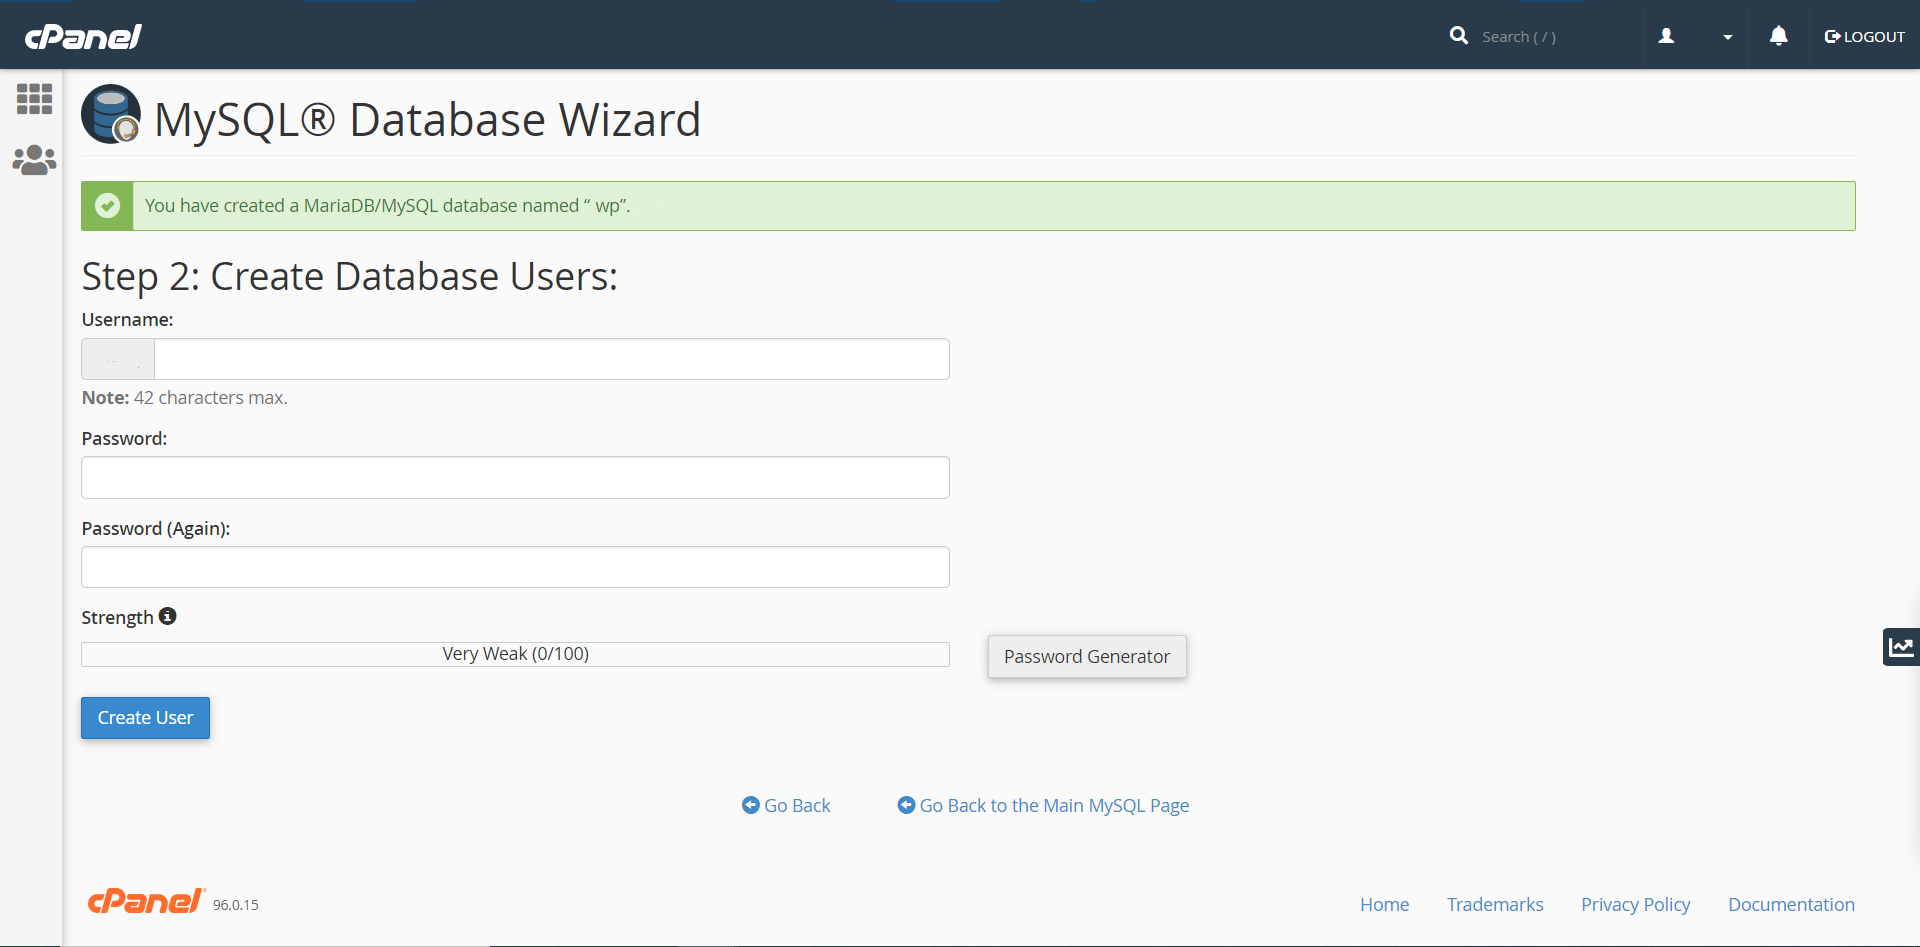
- Because the database needs a user to manage the database, we will create a user.
We need to assign a username and password to the user. The username is usually the same as the database name. The password must be secure. We must not forget this information, because we will still need it.
- For each user, we can determine what powers he will have, so we will determine this.
The easiest (and also the least secure) is to give the user all permissions.
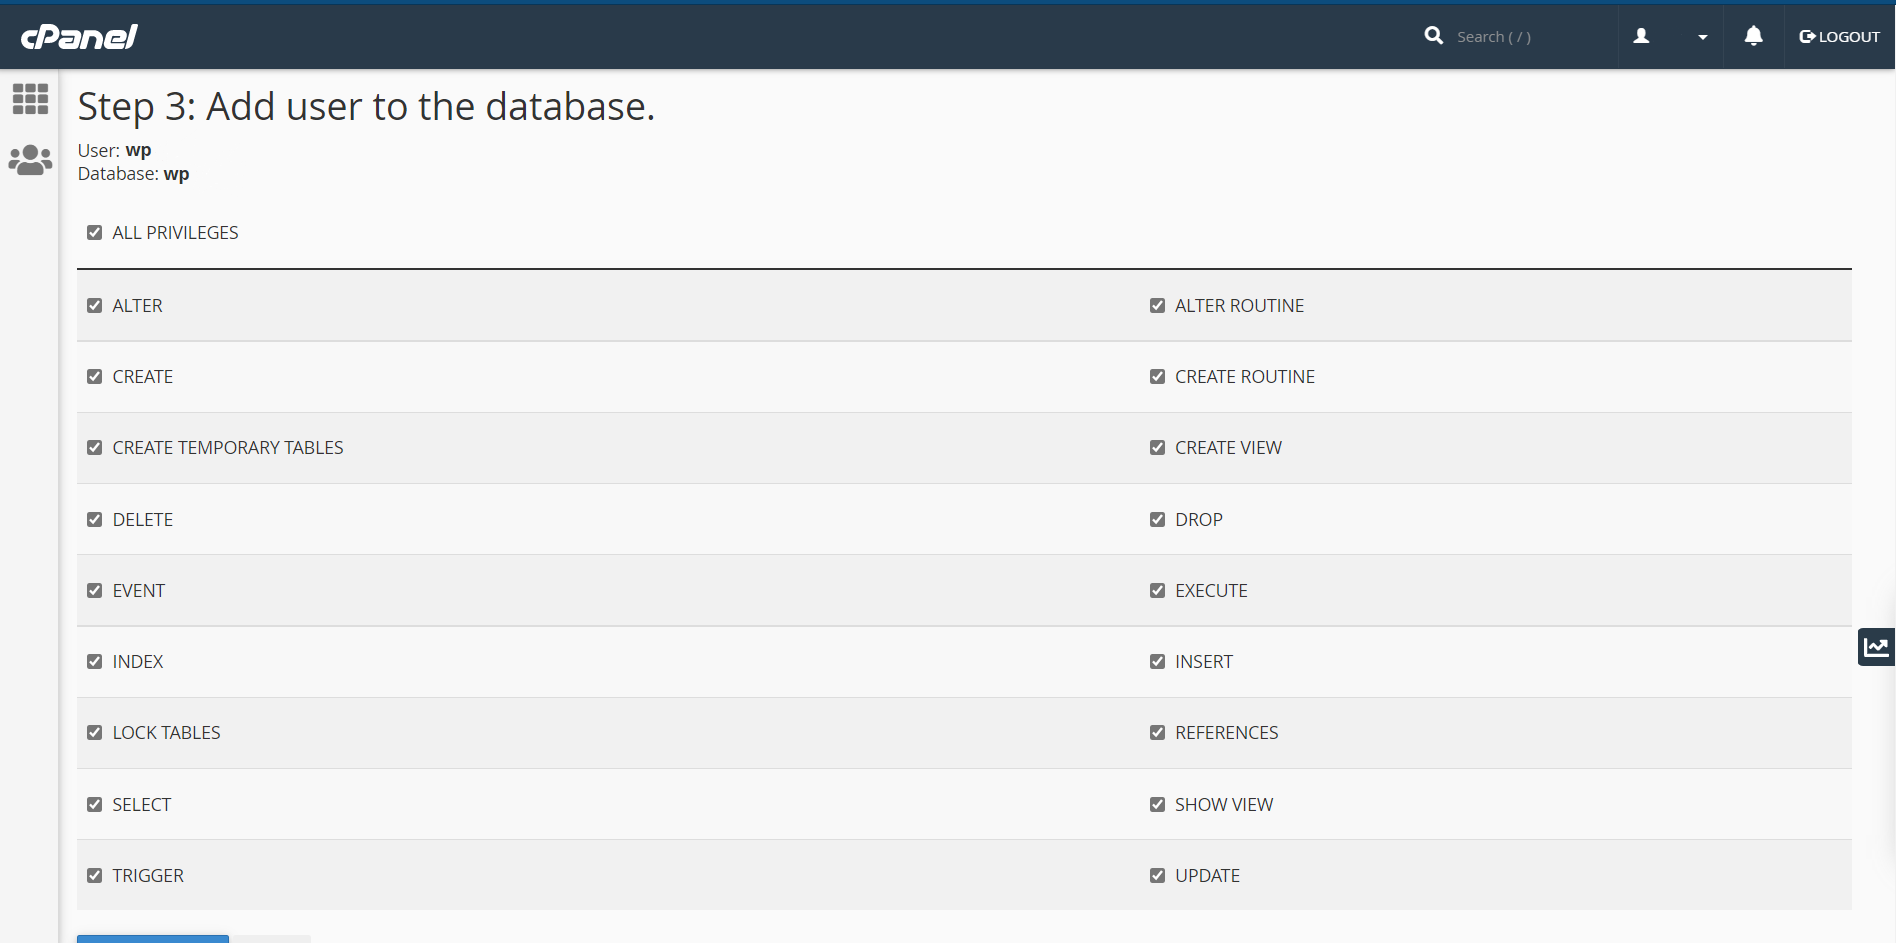
So, we created a database, for our website.
Step 3 - Upload WordPress to the server
I hope you still have some coffee or tea from before or the previous step was already too strenuous😊.
Now it's time to upload the downloaded zip file to our server.
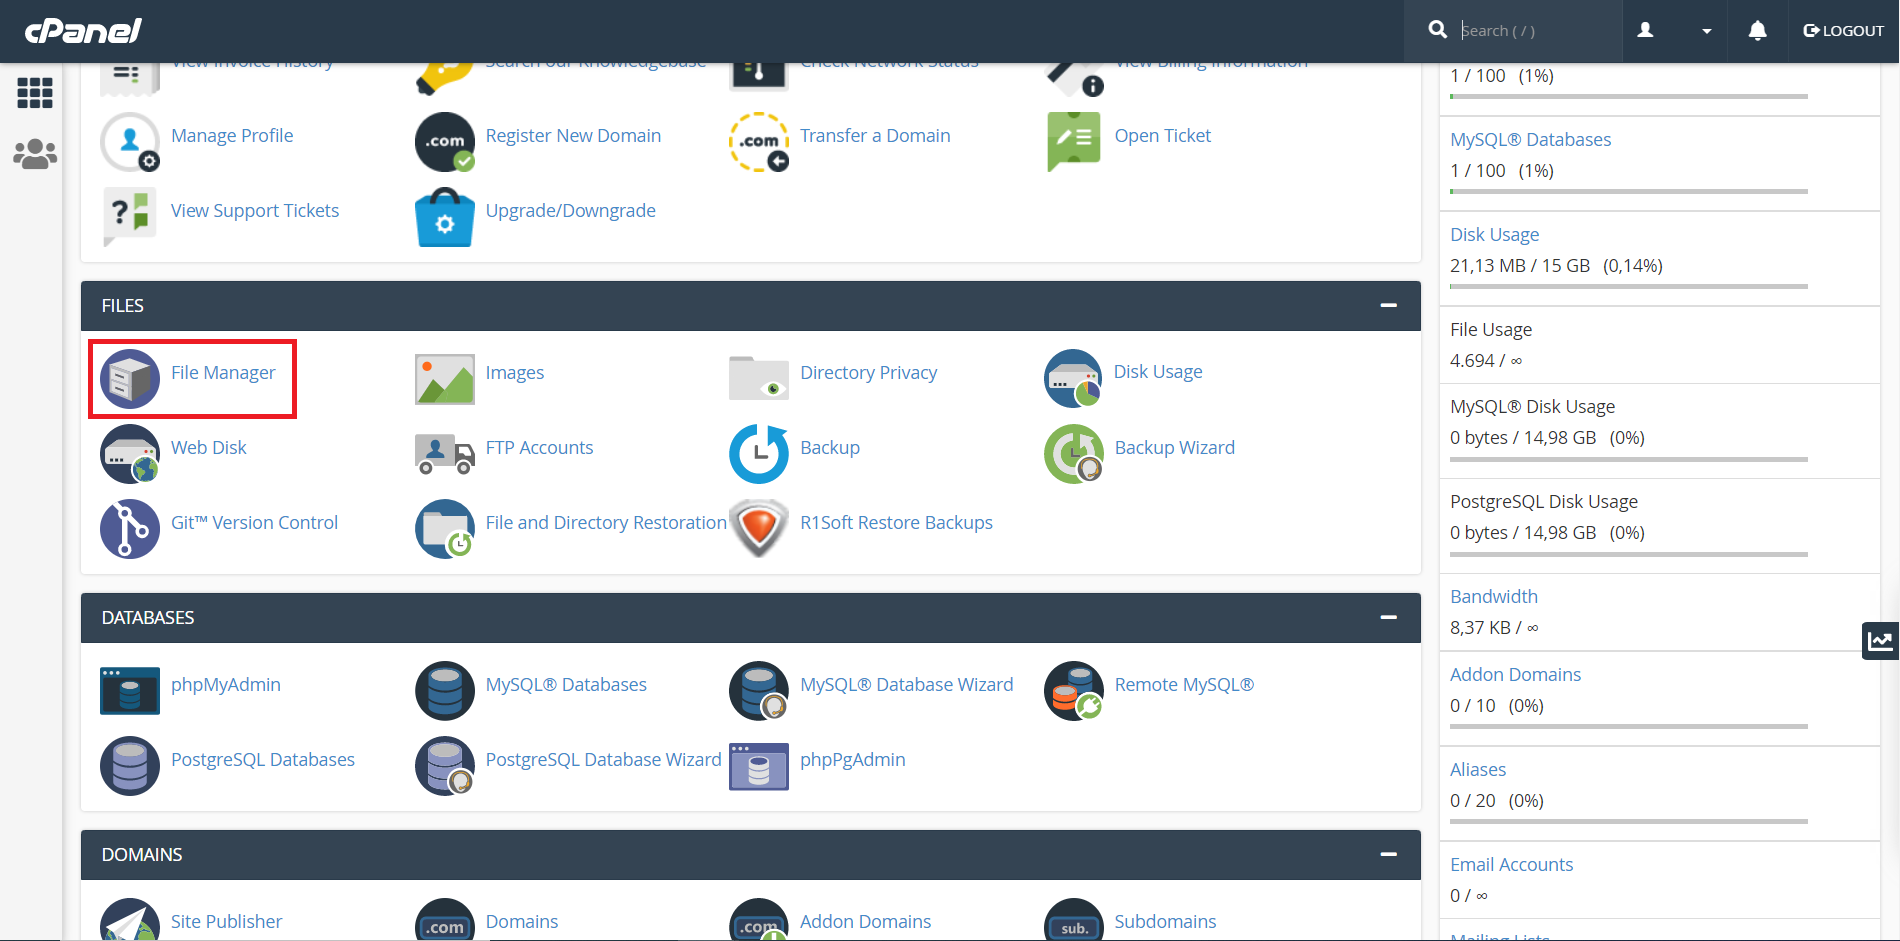
- We start this from the cPanel dashboard and look for the
File Managerbutton.
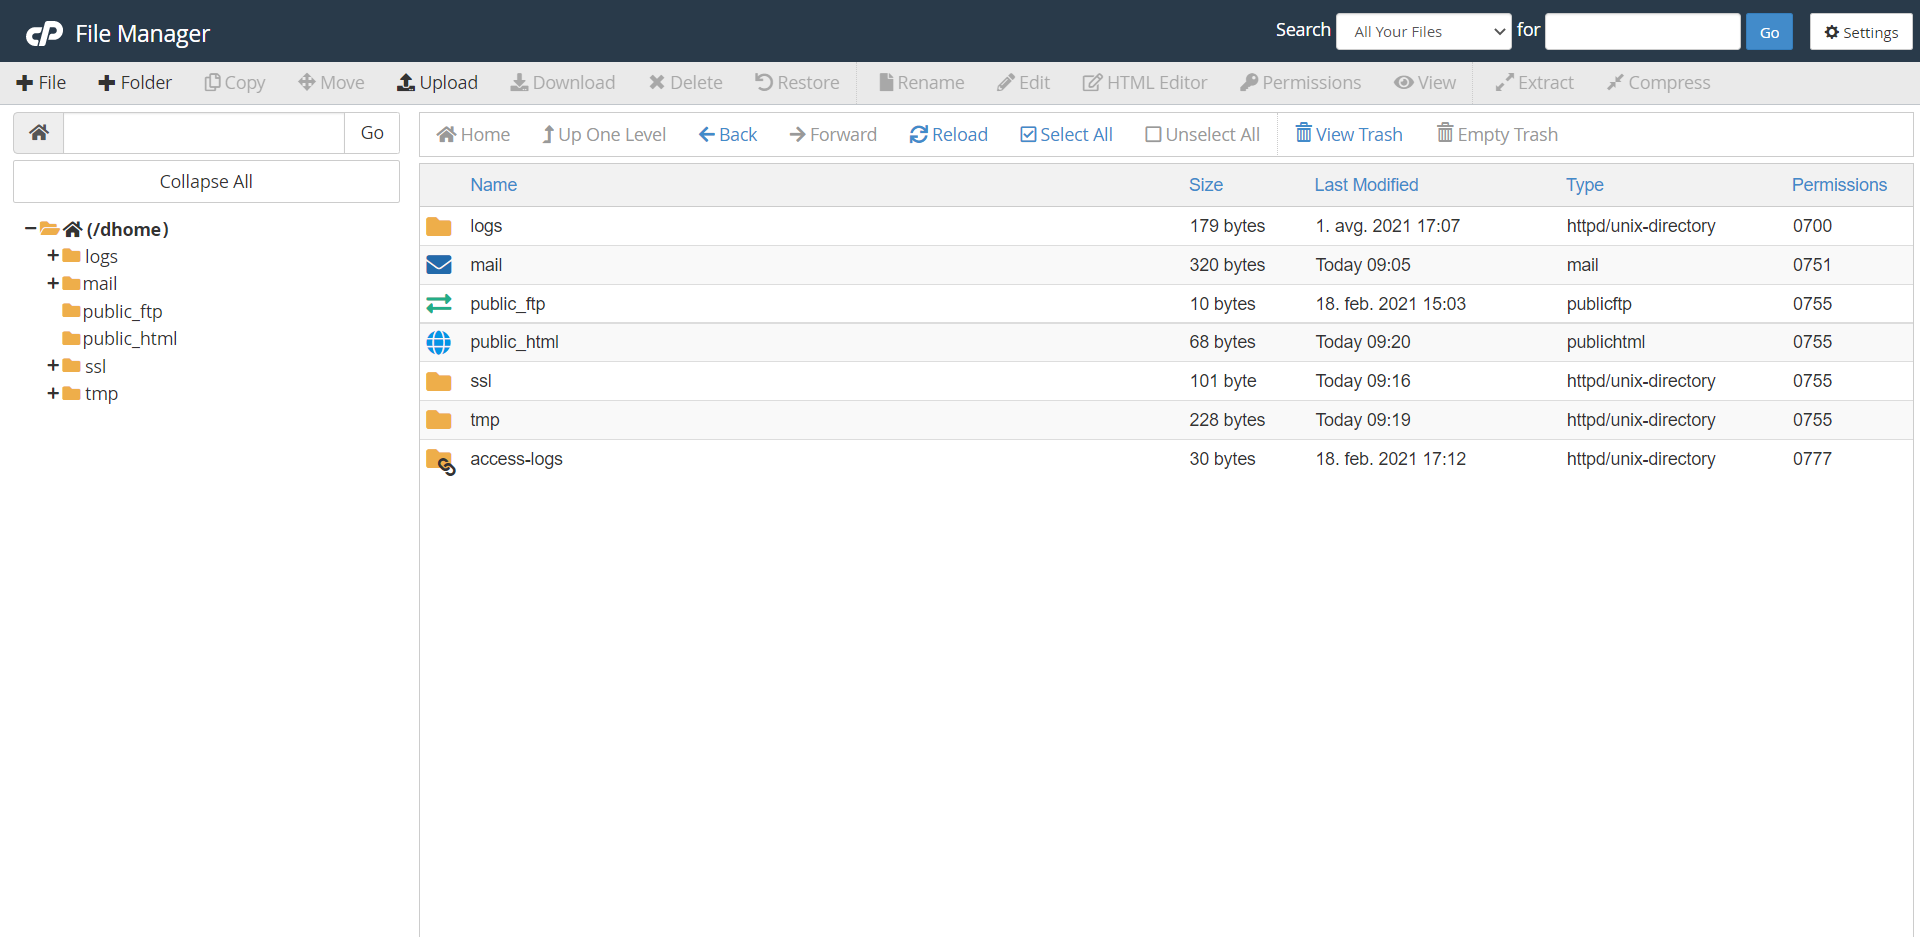
- In a new window, which opened, find the folder named
public_htmland open it. Now comes the moment when we upload WordPress to the server.
- A new window will be open in which we select and upload the file downloaded in the first step. But this is not the end 😉. The real work is beginning.
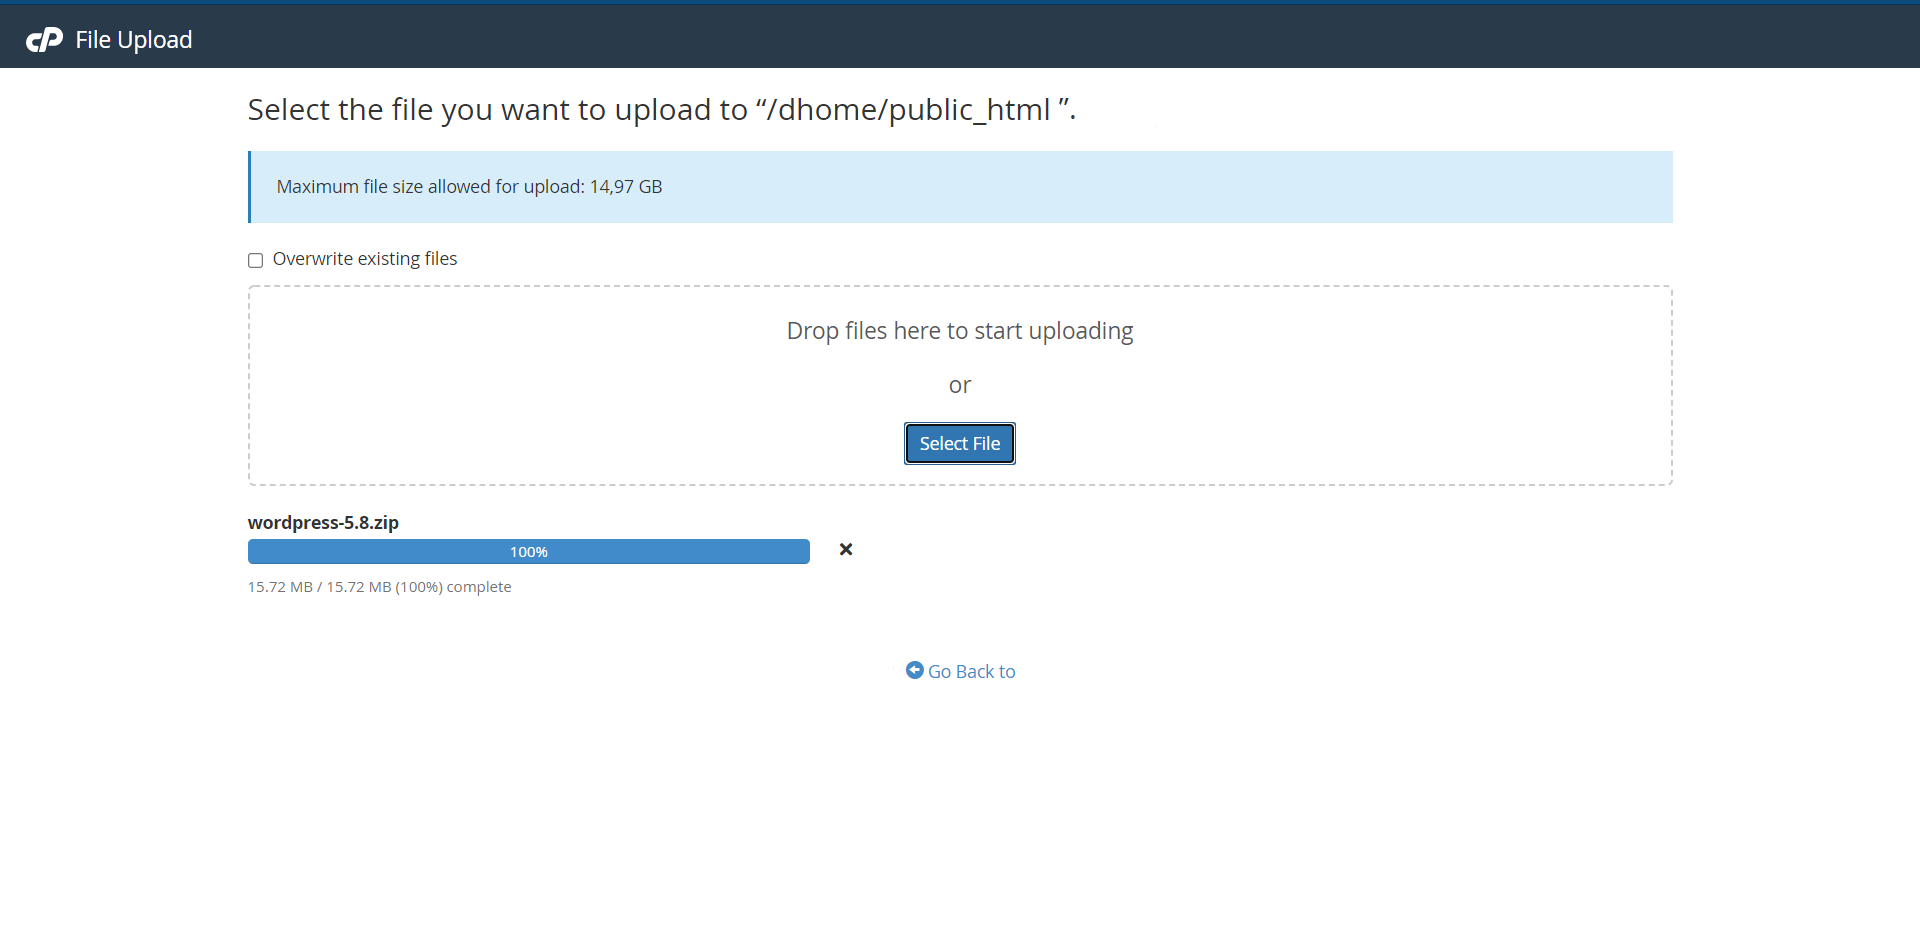
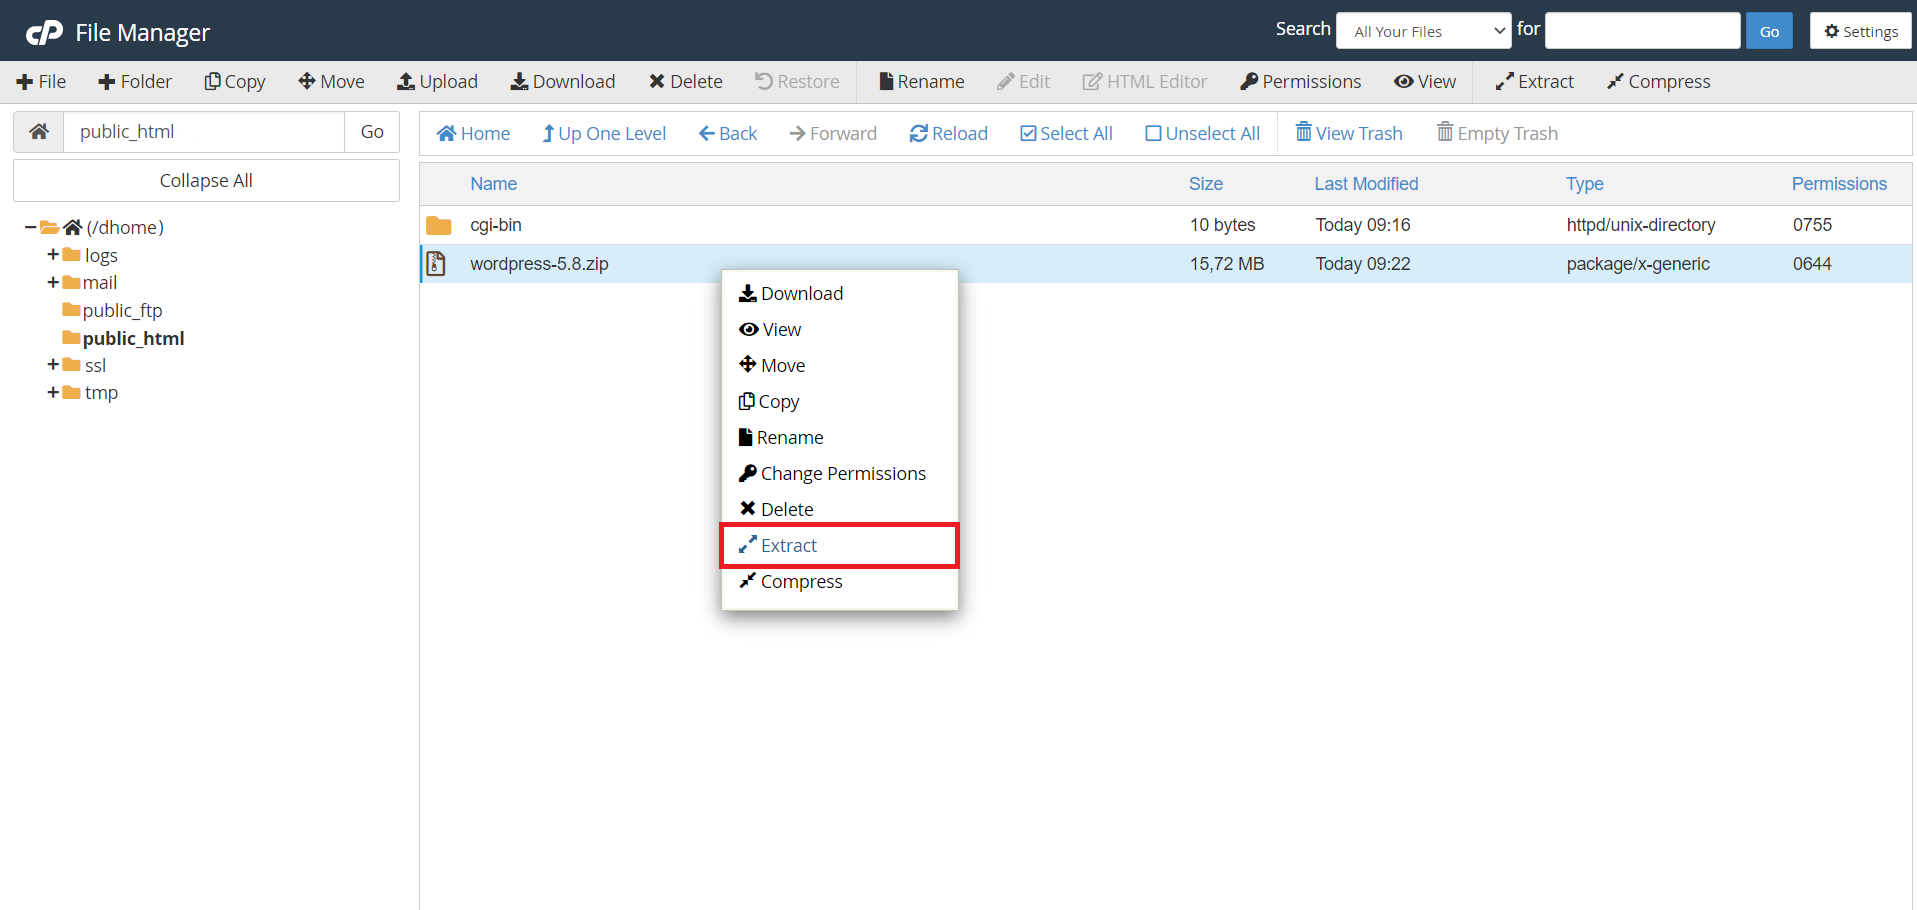
- Next, we must unpack wordpress zipped file. Right-click the file and click the
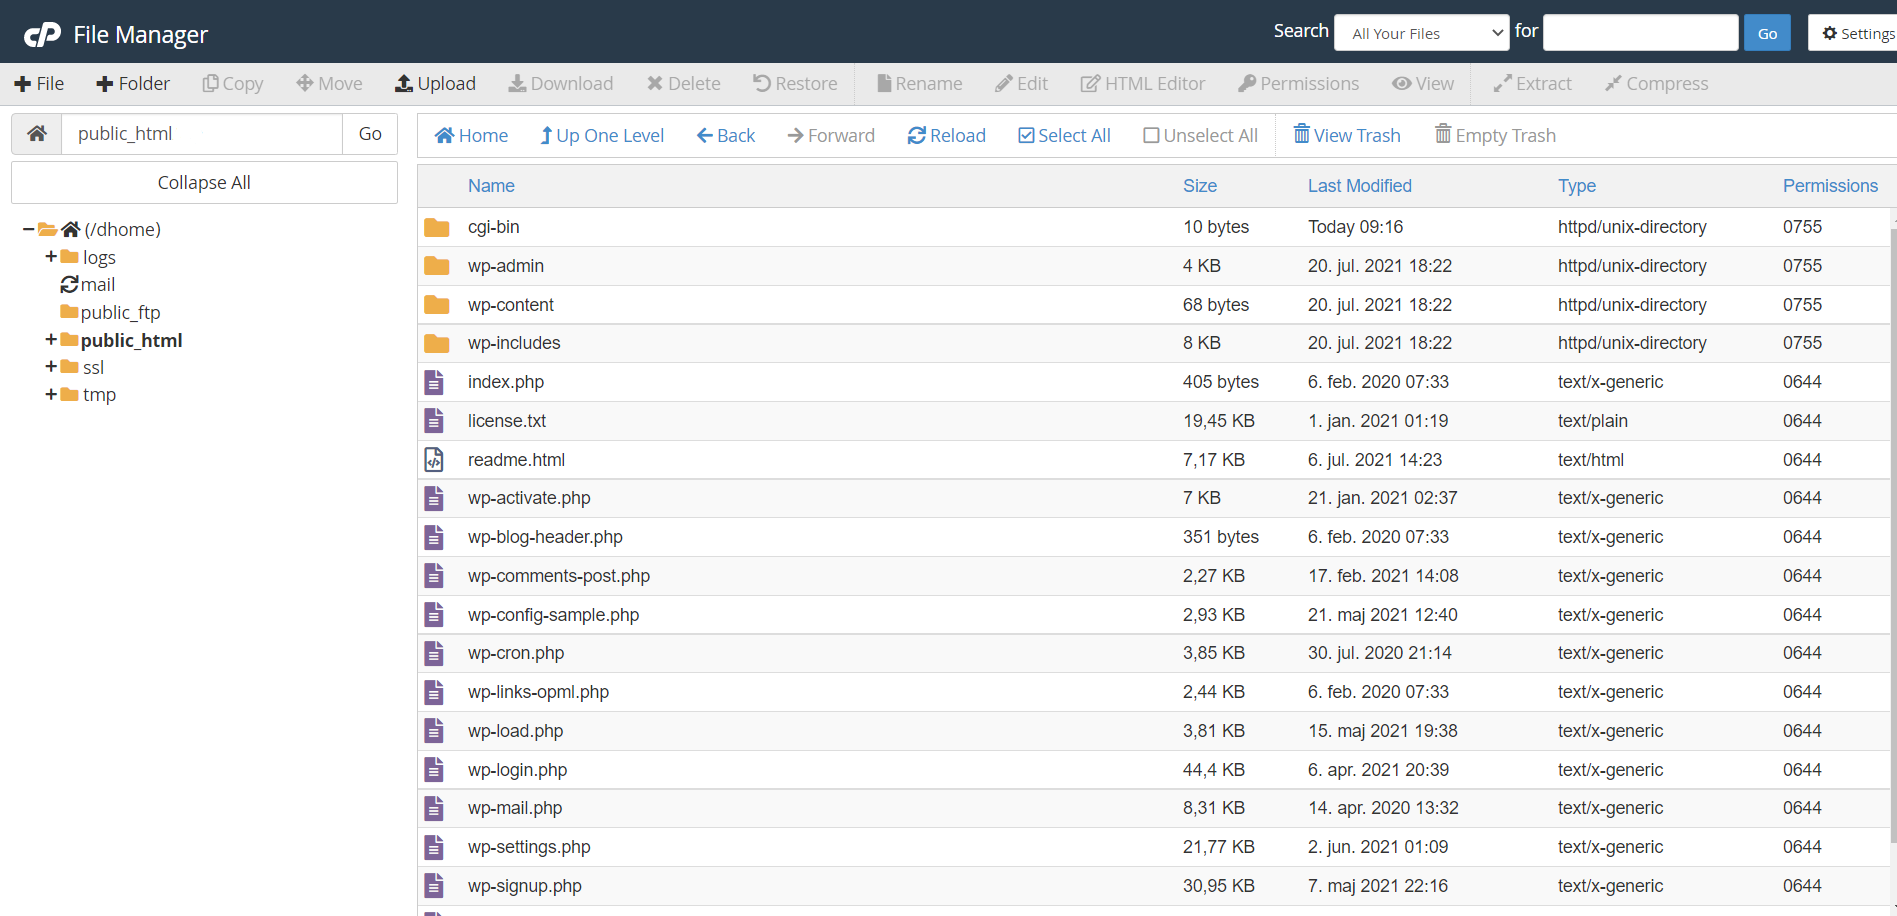
Extractbutton. It may happen that it will create a folder namedwordpress, in this case, we click on it and select all the files in it and move them to one folder up.
- So, we finally put WordPress on the server. The final look should be somewhat like the one in the image below.
Step 4 - Configure WordPress and connect to the database
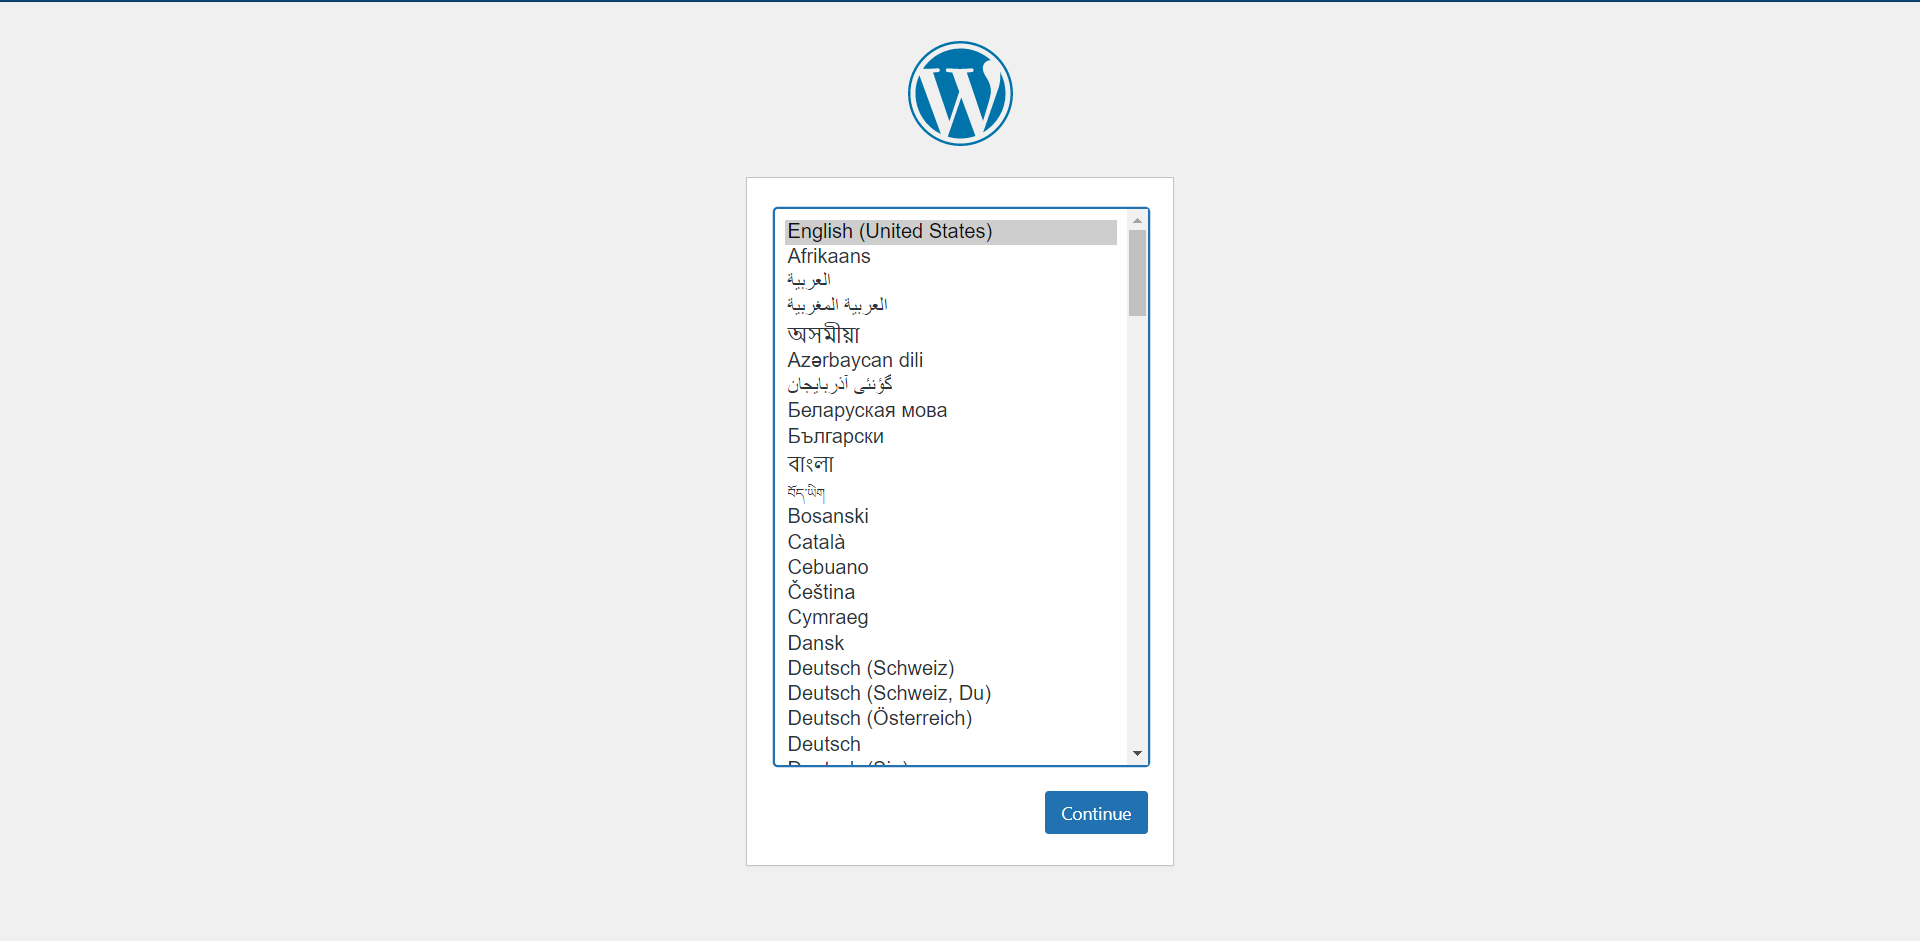
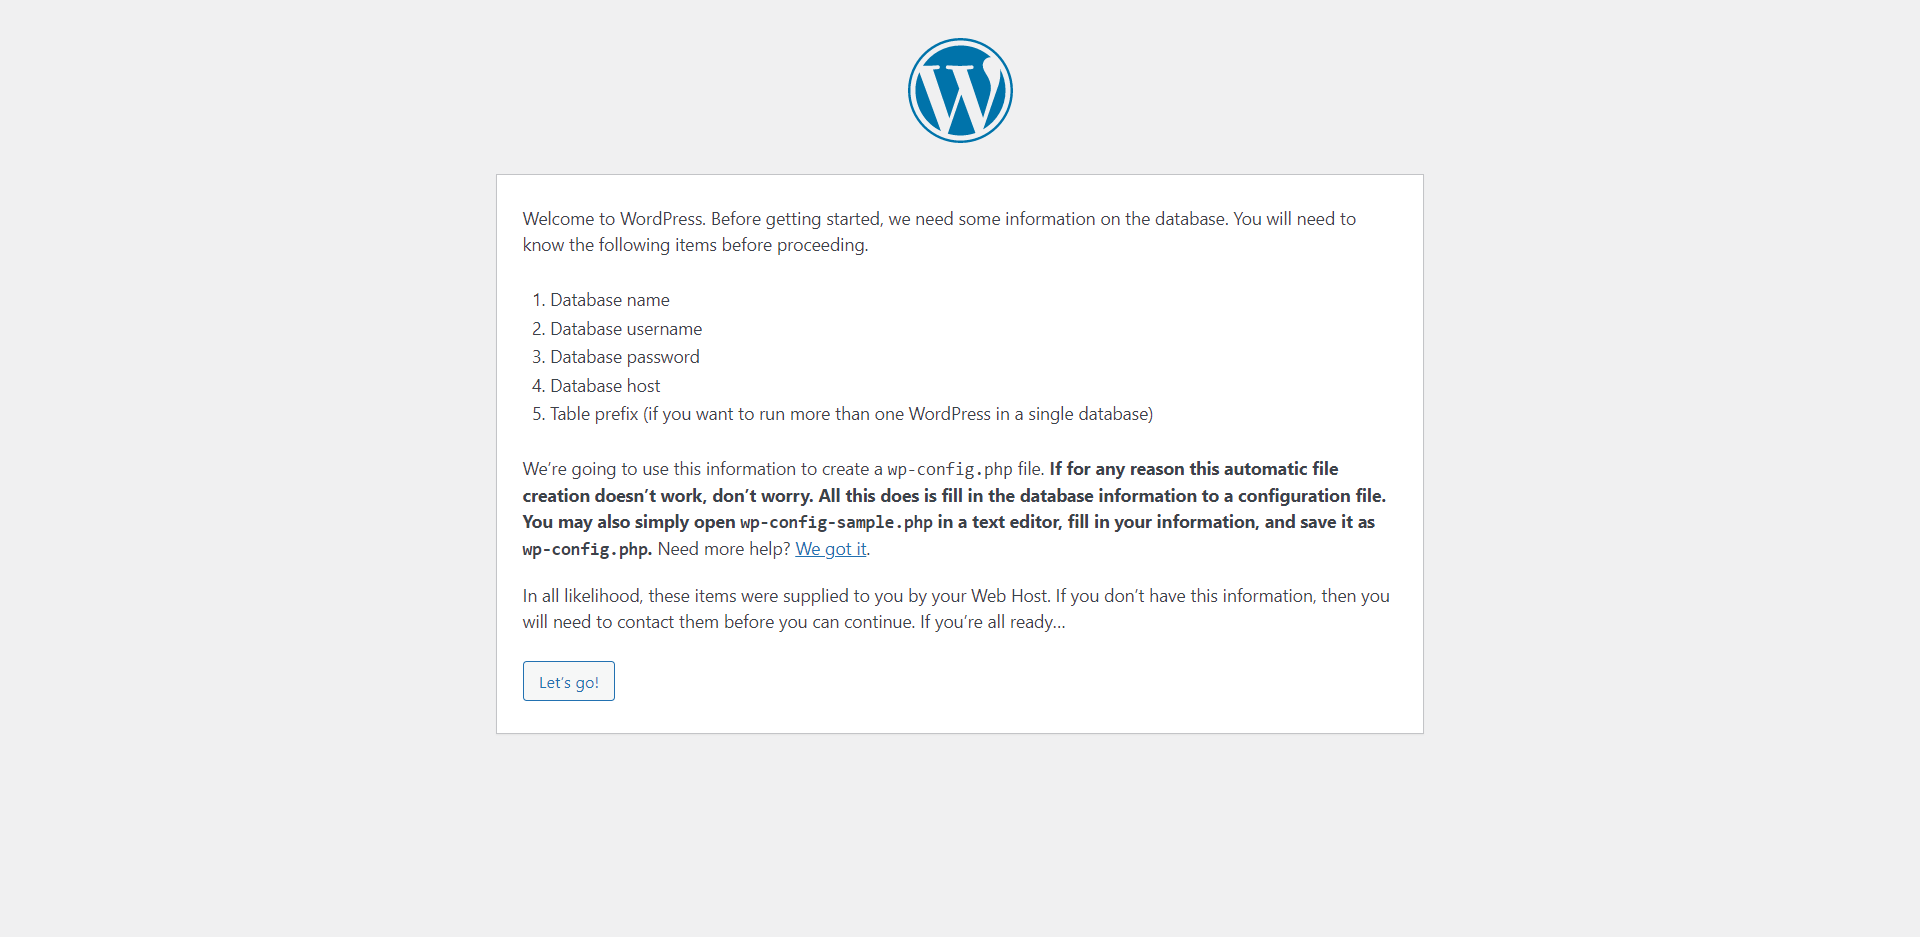
Now let’s go visit our website. We enter our domain name in the browser. And if all went well, we will see our WordPress configuration wizard.
- Select the language in which we want to have the WordPress interface. And we continue.
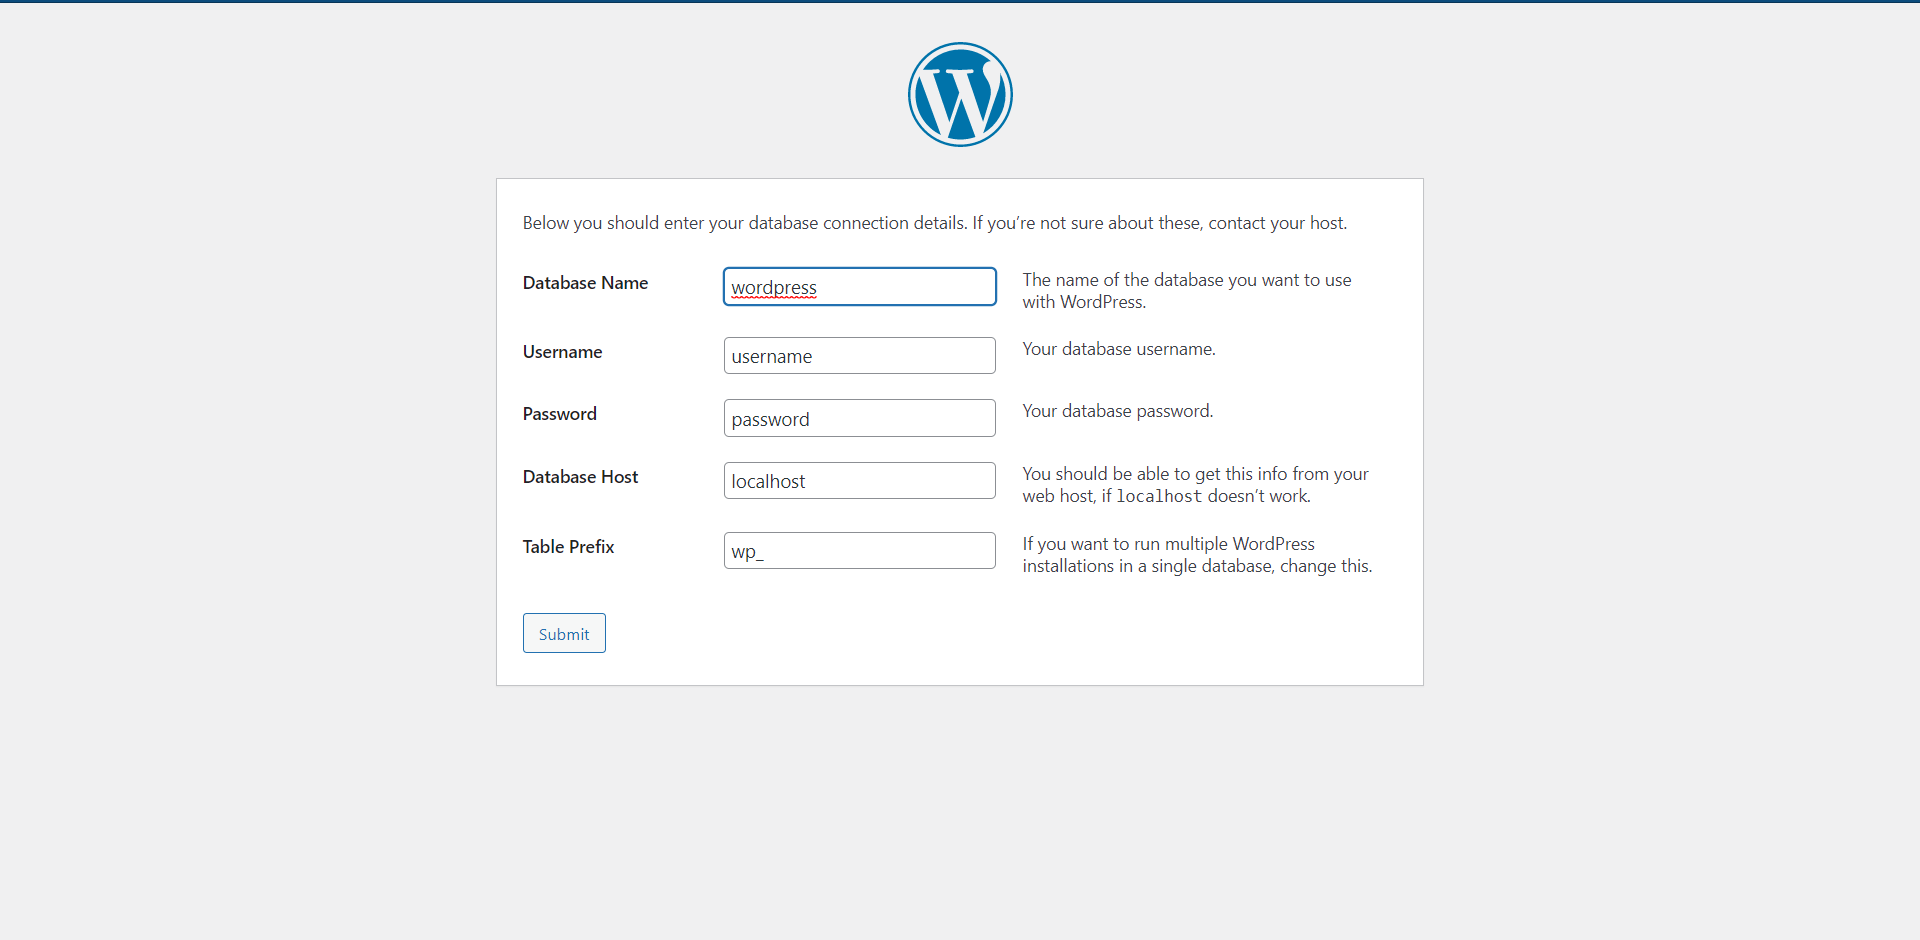
- Time to connect to the database. We will need the data from the first step, I hope you have not forgotten them 😁. Let's go.
- And in the next step, we enter the name of the database, database username and password from the user made in the first step.
Database host is usually
localhost, in case of using a database hosted elsewhere then you would enter that address.
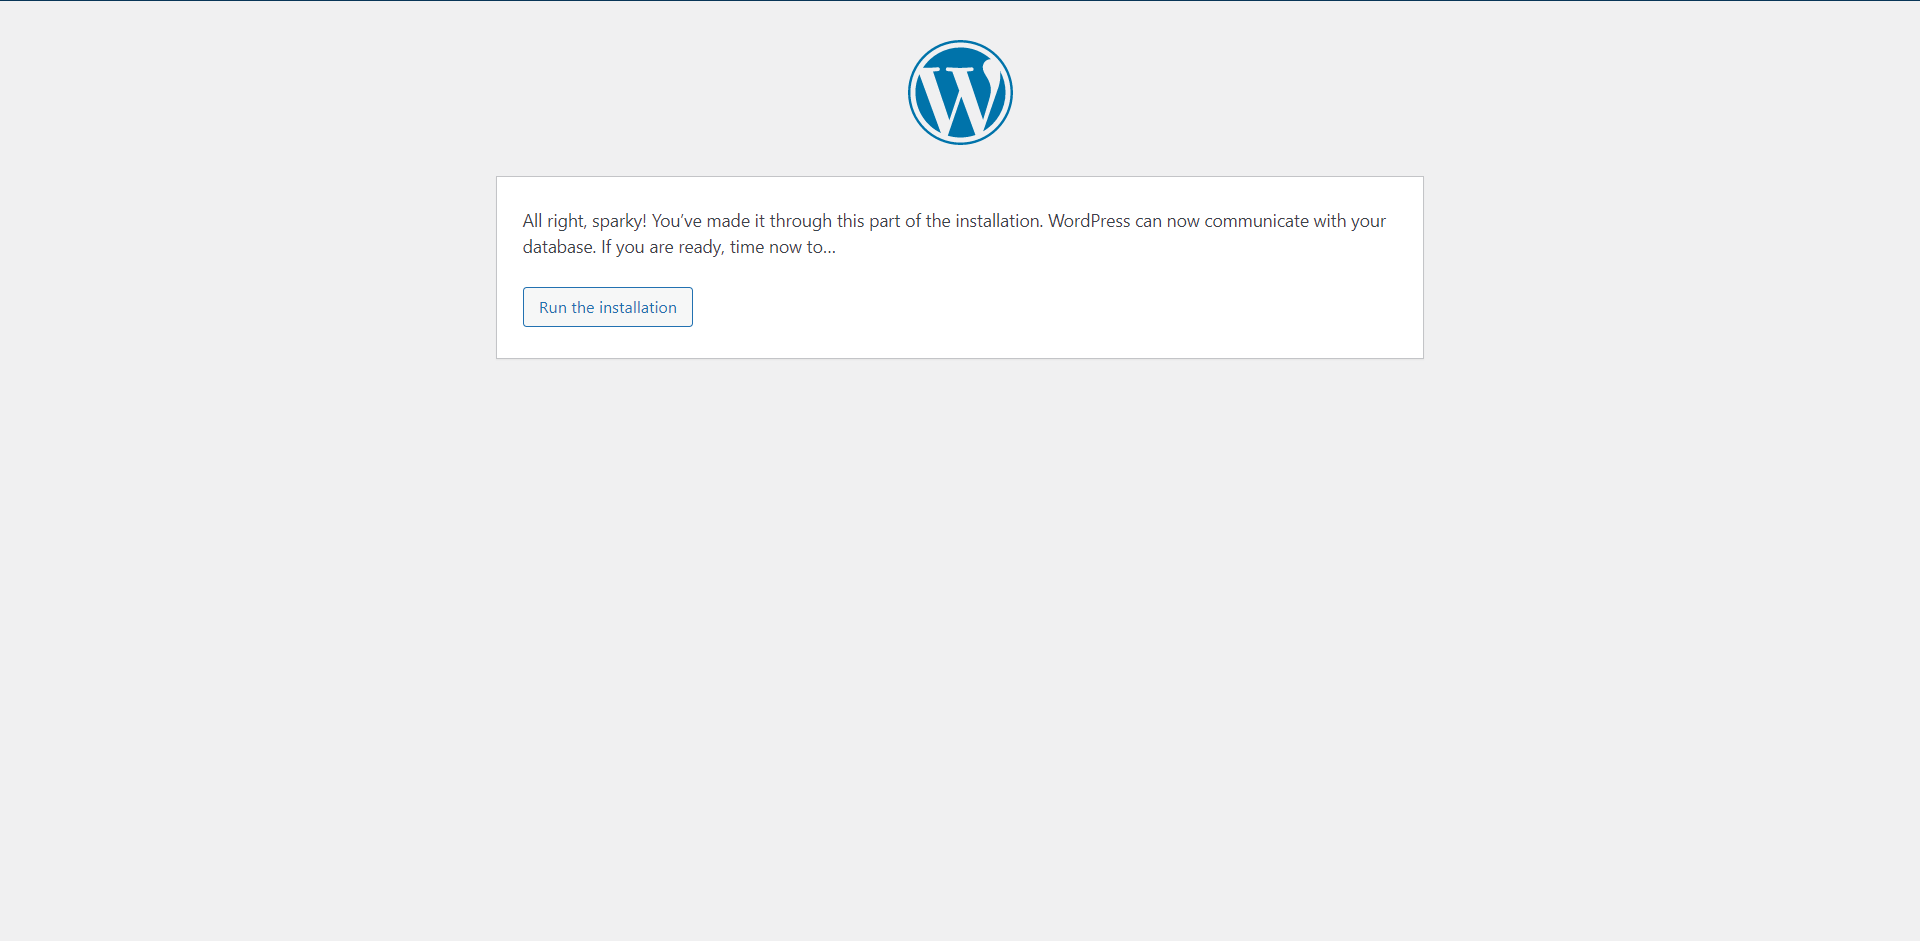
- Successfully connected database
-
If we have connected the database then we can proceed with the WordPress configuration.
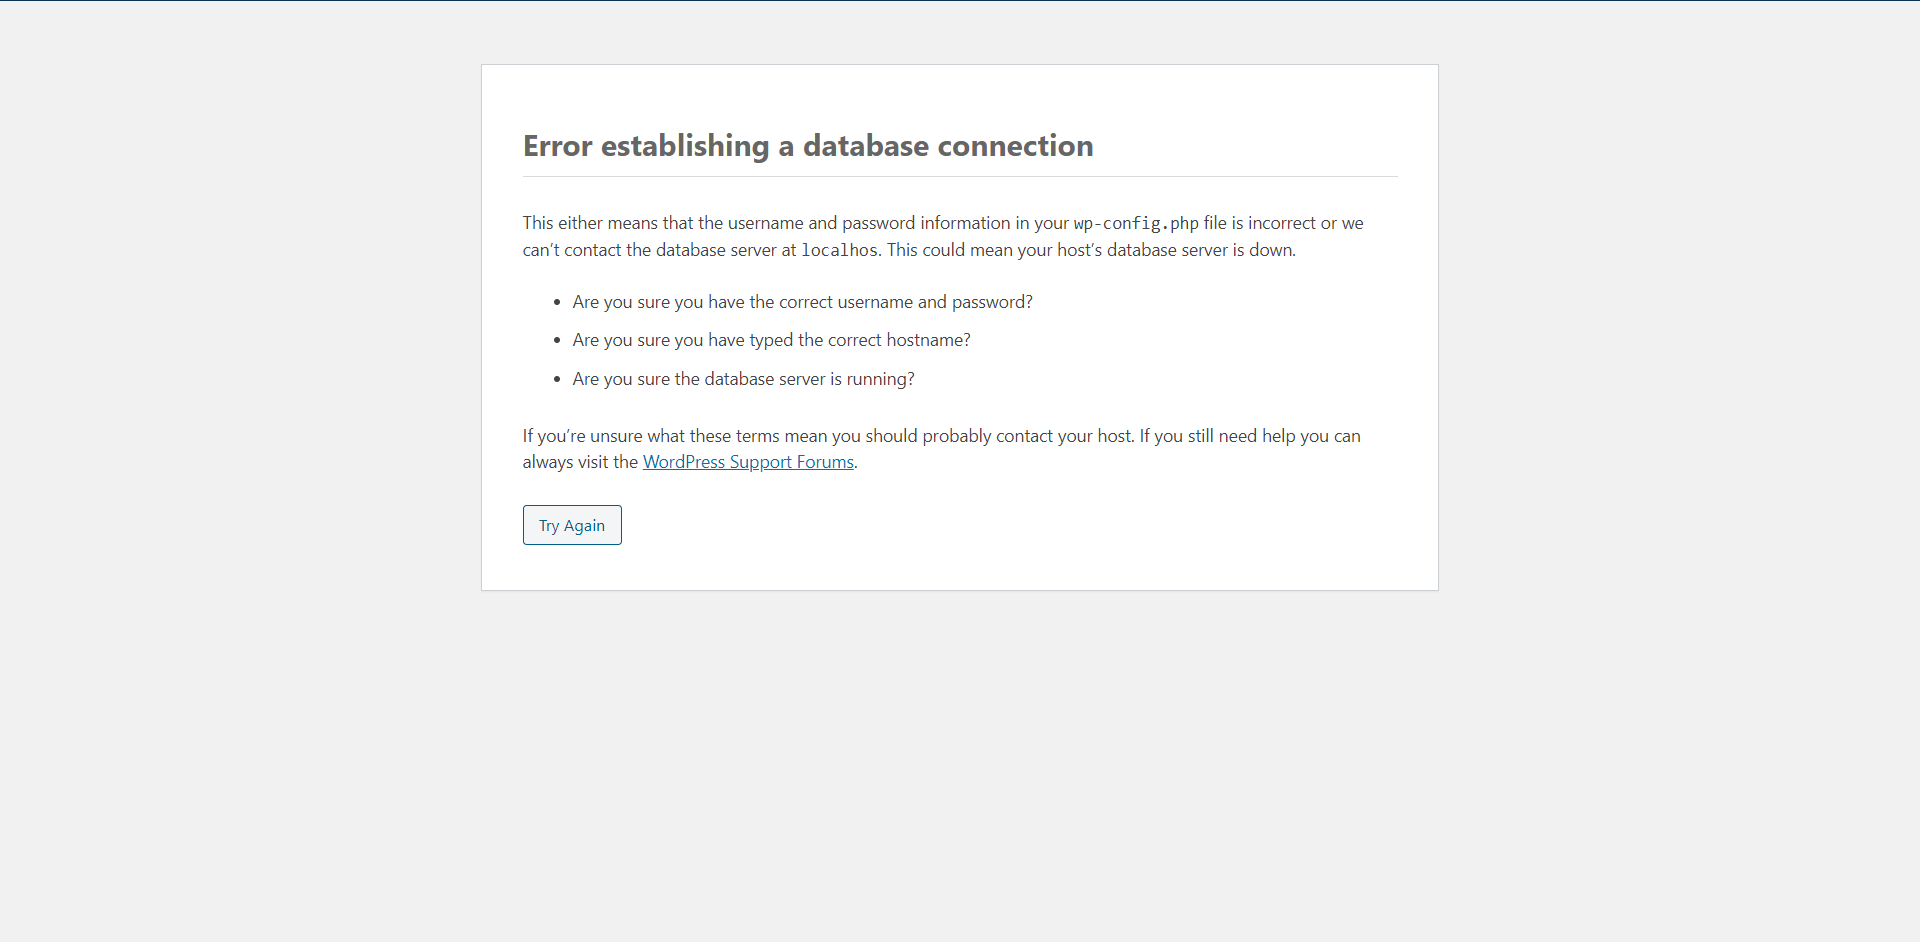
- Failed connection to database
-
If we encounter problems establishing a connection, then we return to the previous page and first check if we have typed somewhere. But, if we do not find an error, we contact the hosting provider.
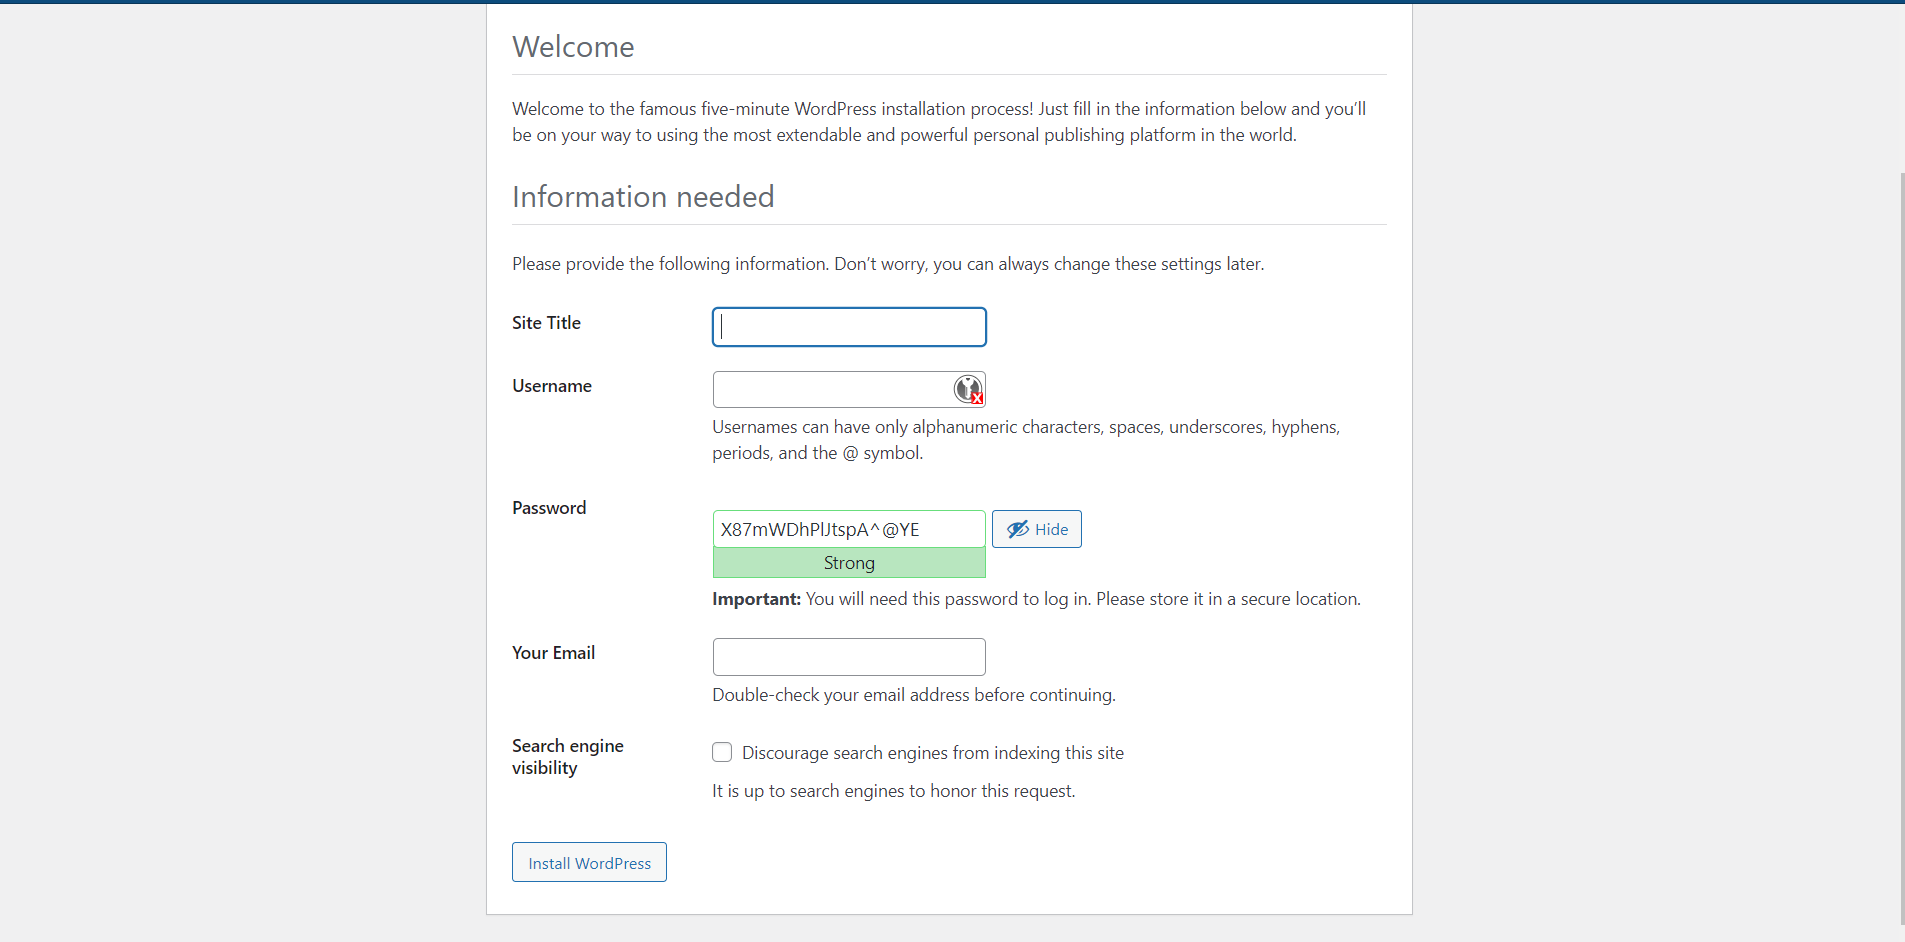
- We connected WordPress to the database, followed by the final configuration of WordPress. We will now fill in the information on our website
- Site title - Enter the name of the site (be it short and represent the company or person),
- Username - Enter the username with which we will log in to the control panel. that the username is not "admin" as this username is the most common and hackers most often try to check them.
- Password - And login password. Keep your password secure. You must remember the password and username.
- Your email - Enter a valid email address because you will receive website notifications.
- Search engine visibility - If the box is checked, search engines will drop this page when indexing websites. My opinion is that as long as we check the box, this will prevent the page from being indexed as long as it is under construction. We can change this in the settings.
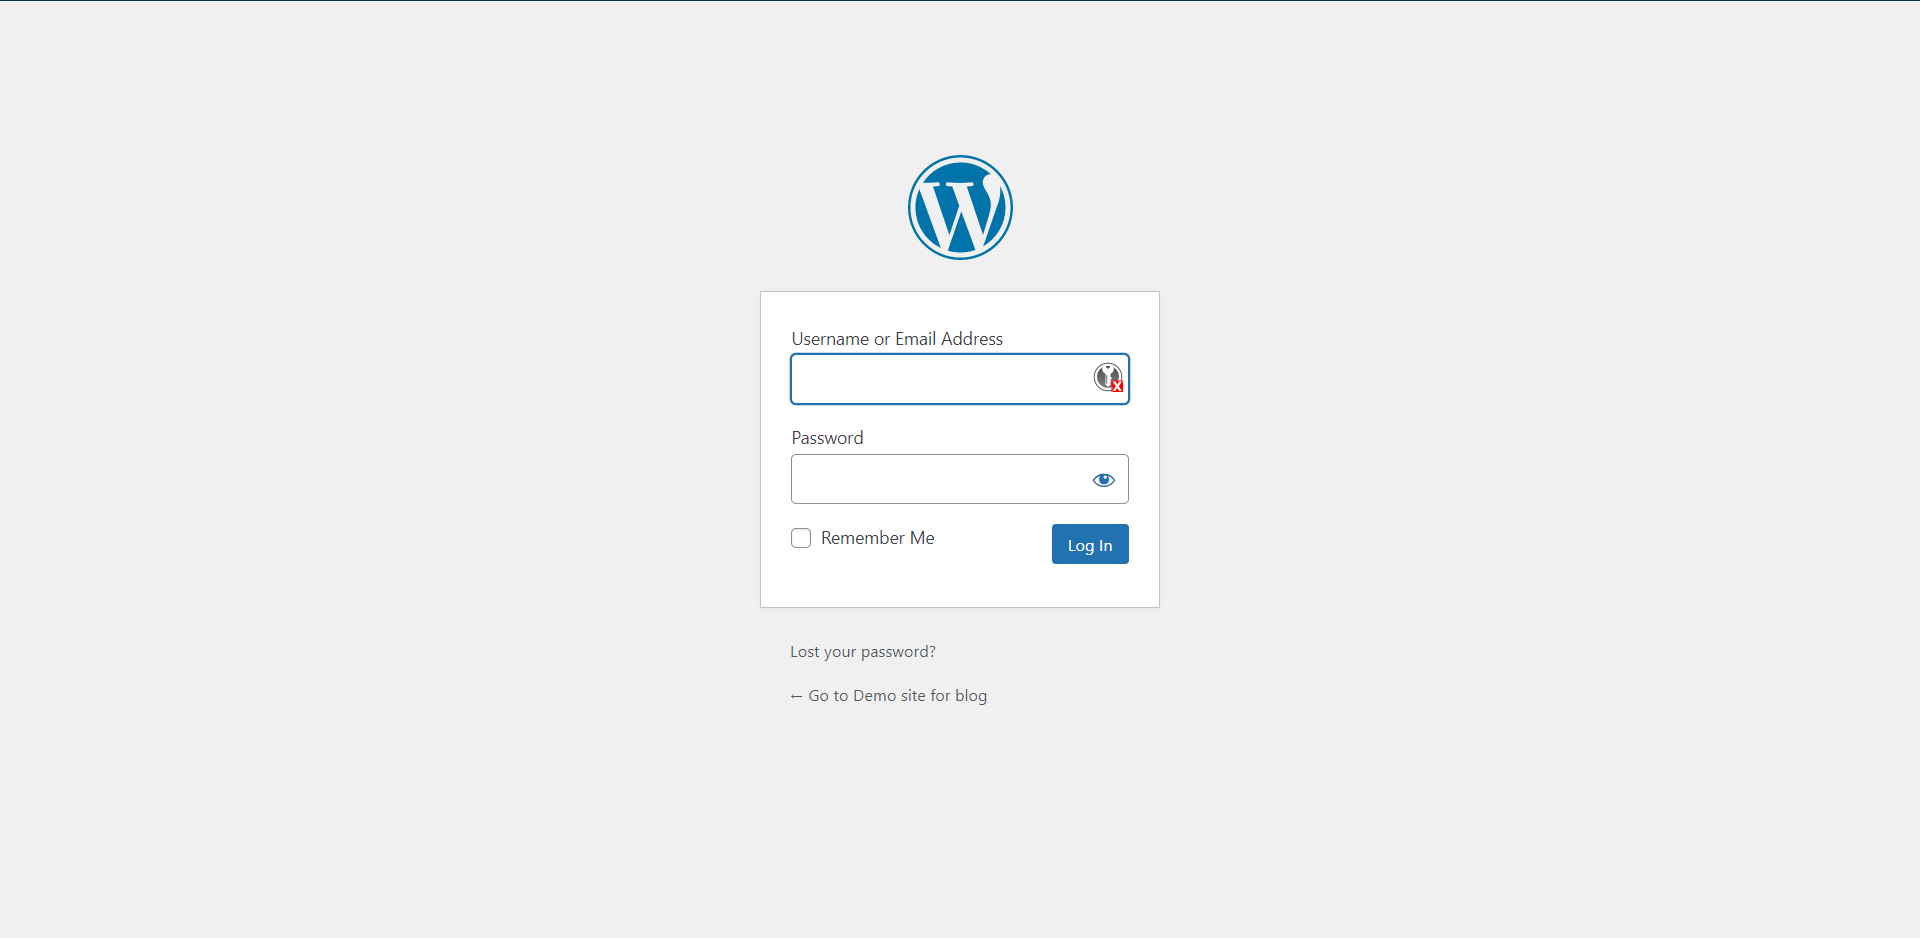
- First login follows 🤗. We enter our username and password from the previous step.
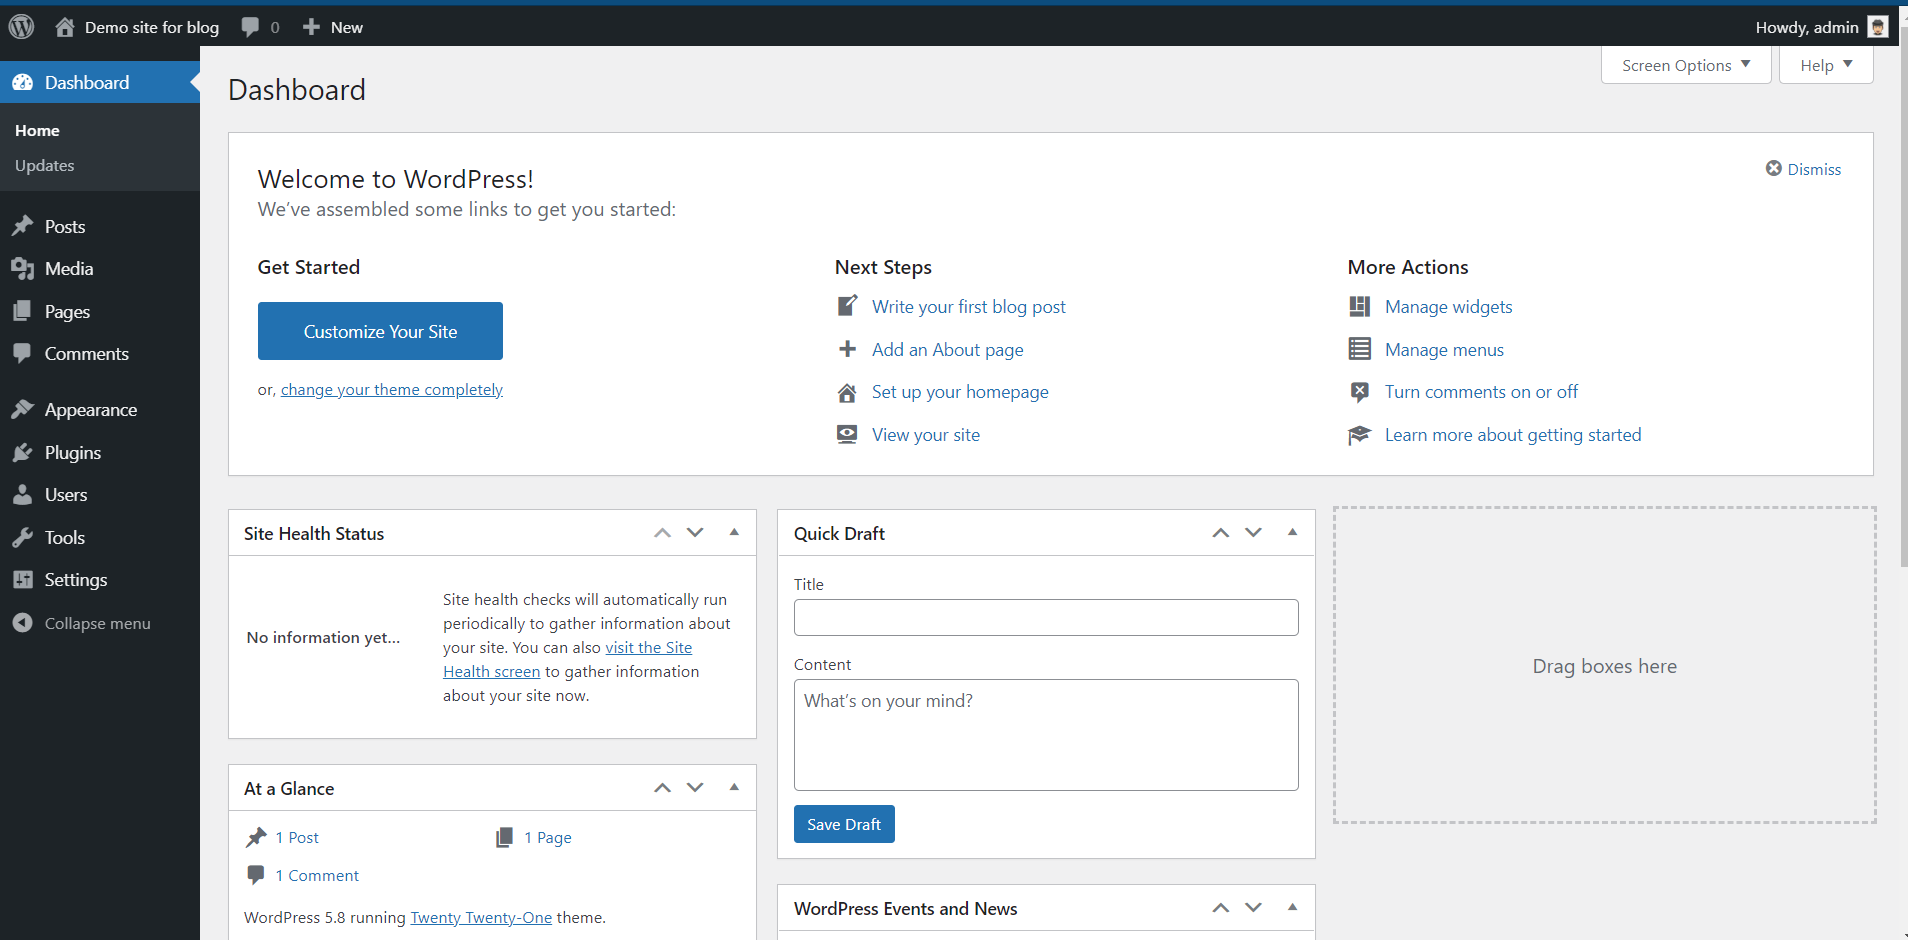
- And voilà, we can now start editing the website.
Option 2
Some web hosting providers offer a Softaculous auto-installer that simplifies WordPress installation to the smallest.
I hope you learned something new. Until next time, with new tutorials on WordPress.
For even more content, you can follow me on my Twitter.